Create a Widget Dashboard
Creating a Widget Dashboard (2.23)
A Widget Dashboard can contain a combination of Widgets using data from different Pathways, enabling you to display all your data in one place.
Steps to create a new Widget Dashboard:
- From
the Reporting
Dashboard select New Dashboard.
The Widget Dashboard displays.
-
Optionally, select Date Range from the toolbar to define the Date Ranges for your Dashboard.
The Dates Ranges can be rolling dates, for example, last month or specific dates, these can be managed at a Widget level or a Dashboard level.
See - Date Ranges. -
Add in Widgets as required, simply drag the Widget to the Dashboard or select Add next to the Widget name:

Your Dashboard can contain multiple Widgets which display data from different Pathways.
See - Widget Dashboards and Managing Widgets.
- Drag the Widget to reposition, and hover to activate the Arrows to resize the Widgets as required.
-
Select the Edit Widget
 to define the Widget Properties.
The Properties vary depending on the type of Widget. - Optionally, select a Date Range within the Widget.

Select the Report Date:
- All - This returns all dates, for example, if Last Year was the Date Range, the Widget displays entries for all the months. *
- Earliest - This returns the first month's data, for example, if Last Year was the Date Range, the Widget displays data only for January. *
- Latest - This returns the latest month's data, for example, if Last Year was the Date Range, the Widget displays data only for December. *
* This assumes there is data present for all 12 months.
- Repeat steps 3 -5 to add all the required Widgets.
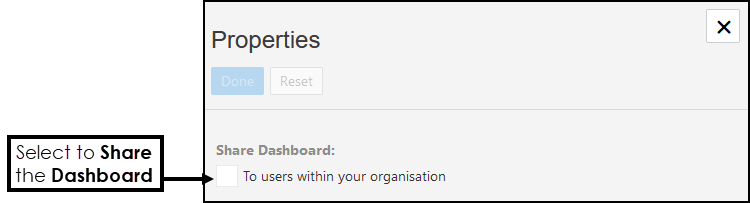
- Optionally, to share your Dashboard, select Properties from the toolbar, and within the Properties pop-up select Share Dashboard: To users within your organisation check box.
Select Done to save the settings and X to close the pop-up.
-
Select Finished Editing
 from the toolbar.
 - From the toolbar select Save to save the Dashboard.

- Enter your Dashboard Name.
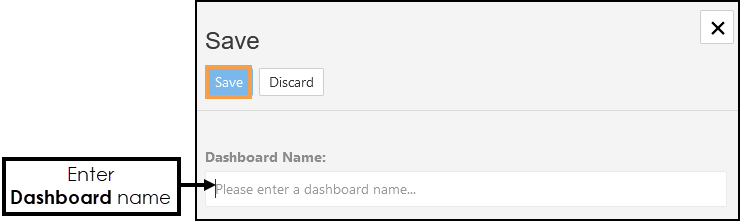
- Select Save.
The Widget Dashboard refreshes and displays the Dashboard Name.